CQ Workflow Tutorial: Basic Project Setup
As already mentioned in the previous article developing CQ Workflows is not easy due to many parts that need to play together and because most of the action is happening behind the scene. Therefore it will be time-consuming and frustrating from time to time. There are a few things that I learned over the past year and a half that will make your life easier. One of the most important tips to consider is to clamped down on the number of moving parts and to be able to review and undo changes if necessary. That is why I have all code and configuration related to a CQ Workflow inside a VCS tool and use Maven to install the Workflows in CQ.
Attention: Even though I use a VCS tool and Maven to manage a Workflow the actual Workflow Model is edited inside CQ Workflow Model Editor. I tried to edit workflows within a Code Editor (IntelliJ IDEA) but beside simple changes in text properties I failed to make it work. The Workflow Model Editor will not bring up the Model if there is a slight inconsistency and so you might loose your work.
Creating a Workflow Models ∞
As said above you cannot edit Workflow Models by hand. This means you need to open the Workflow Model inside the Workflow Editor by double-clicking on the Workflow Model and then change the Model in its Editor. Now this is a problem if you have the Workflow in VCS because when you would reinstall the Workflow Model you would loose your changes. This is my process on how to edit Workflows inside CQ and still keep the golden copy in a VCS:
-
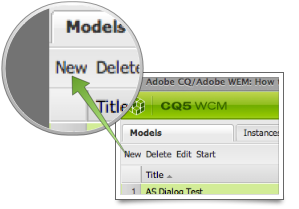
Create a Workflow inside the Workflow Editor by clicking on the New button. Give it a Title (displayed name). Here we use Basic Workflow


